 English
 Español
+86-13777012108
(WhatsApp/WeChat)
Home / News / Industry News / Lighting for Parks and Trails: How to Choose Fixtures, Levels and Power Sources
Lighting for Parks and Trails: How to Choose Fixtures, Levels and Power Sources
A trail that goes dark two hours before the park gate closes creates a maintenance complaint, and a footpath lit to 40 lux beside a residential fence line creates a different one. Between those two failures sits a fairly narrow design window, and it is set by a handful of numbers that are easy to check before the purchase order is signed: mounting height, pole spacing, maintained illuminance, uniformity, and the ingress rating printed on the fixture label.
The short version: 3 to 4 meter poles for pedestrian paths, 6 to 9 meter poles for park roads and trailhead lots, LED luminaires in the 3000K to 4000K range with backlight shielding, IP66 die-cast aluminum housings, and a power decision driven by trenching cost rather than by fashion. Everything below explains why those numbers land where they do, and which tolerances actually matter when the site is inspected after installation.
Content
Start With Geometry Rather Than Wattage
Wattage tells you almost nothing about how a park will look at night. The two variables that shape the result are mounting height and the spacing-to-height ratio. For a shared-use trail with 5 meter poles, spacing them 20 meters gives a ratio of 4:1, which is a practical ceiling for even coverage with a Type II or Type III optic. Push that to 6:1 and you get bright pools under each pole with dark gaps between them, which is exactly where trip hazards and user complaints live.
Target illuminance should follow the way the space is used, not the size of the parking lot. A walking path needs far less light than a vehicle access drive, and over-lighting a path creates glare that reduces visibility rather than improving it. The table below shows indicative maintained values; the local standard or the project's lighting designer always takes precedence.
| Zone | Average maintained illuminance | Minimum uniformity | Typical pole height |
|---|---|---|---|
| Multi-use pedestrian path | 5 to 10 lux | 0.25 min/average | 3 to 4 m |
| Shared-use trail, cycling allowed | 10 to 15 lux | 0.25 min/average | 4 to 6 m |
| Park road and service drive | 10 to 20 lux | 0.35 min/average | 6 to 9 m |
| Trailhead and entrance parking | 20 to 50 lux | 0.35 min/average | 6 to 9 m |
| Recreational hard court | 100 to 200 lux | 0.40 min/average | 8 to 12 m |
Match the Fixture to the Zone It Lights
Most specification mistakes come from recycling one luminaire family across an entire site. Garden fittings belong over flower beds and low walkways; street luminaires do the heavy lifting on drives and trailheads; asymmetric floodlights handle lawns, courts and gathering spaces. Mixing them up produces either a washed-out path with no vertical definition or a courtyard that feels like a car park.
| Zone | Luminaire type | Mounting height | What to check on site |
|---|---|---|---|
| Low walkway and planting edge | LED garden light, die-cast aluminum body | 0.9 to 4 m | Impact rating against vandalism, no upward light spill |
| Shared-use trail | LED street light with narrow asymmetric optic | 4 to 6 m | Spacing to height ratio, spill at adjacent property line |
| Trailhead, gate and parking | LED street light or flood light on pole | 6 to 9 m | Circuit capacity, photocell control, aiming of the head |
| Lawn and event space | LED flood light with adjustable bracket | 6 to 12 m | Glare toward nearby homes, dimming scenes for events |
| Hard court and plaza | High output flood or wide street luminaire | 8 to 12 m | Vertical illuminance, flicker for cameras and players |
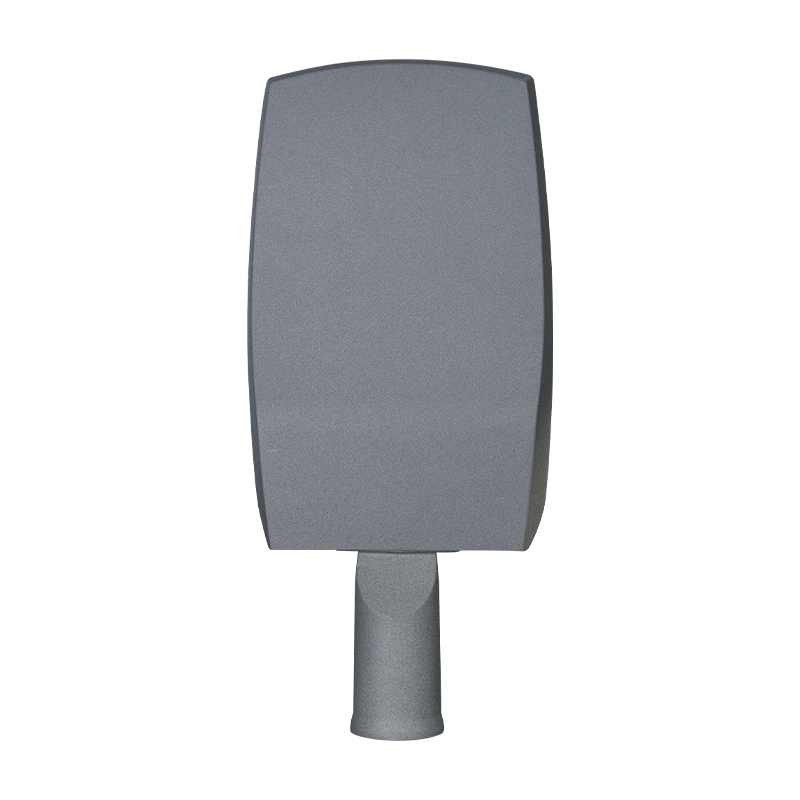 PY-LED612L-120W Outdoor LED Street and Stadium LightA 120W die-cast aluminum option for trailheads and entry plazas, with modular light-source access and even optical distribution.View Product →
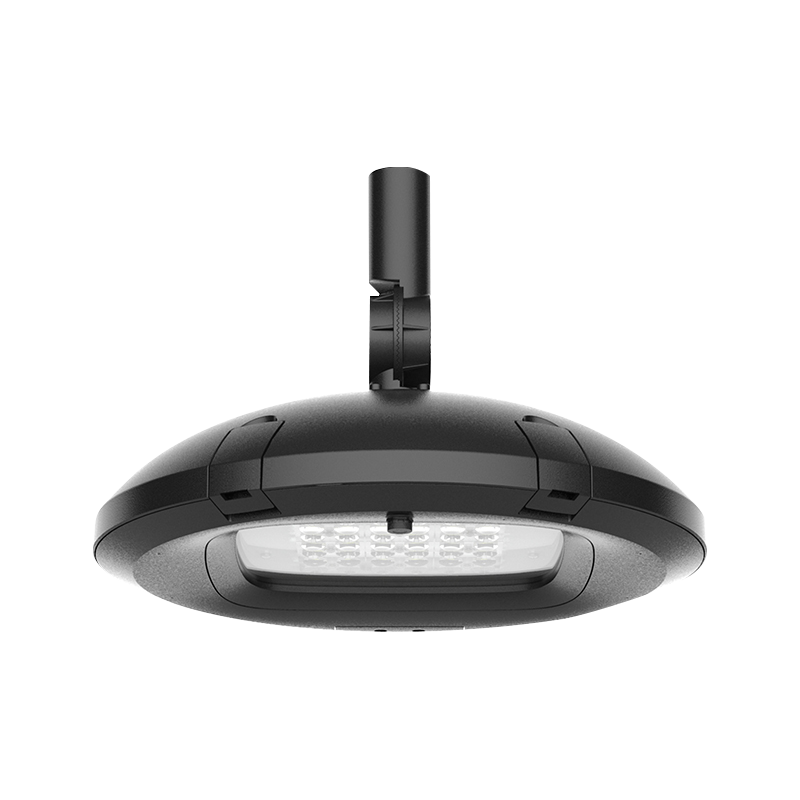
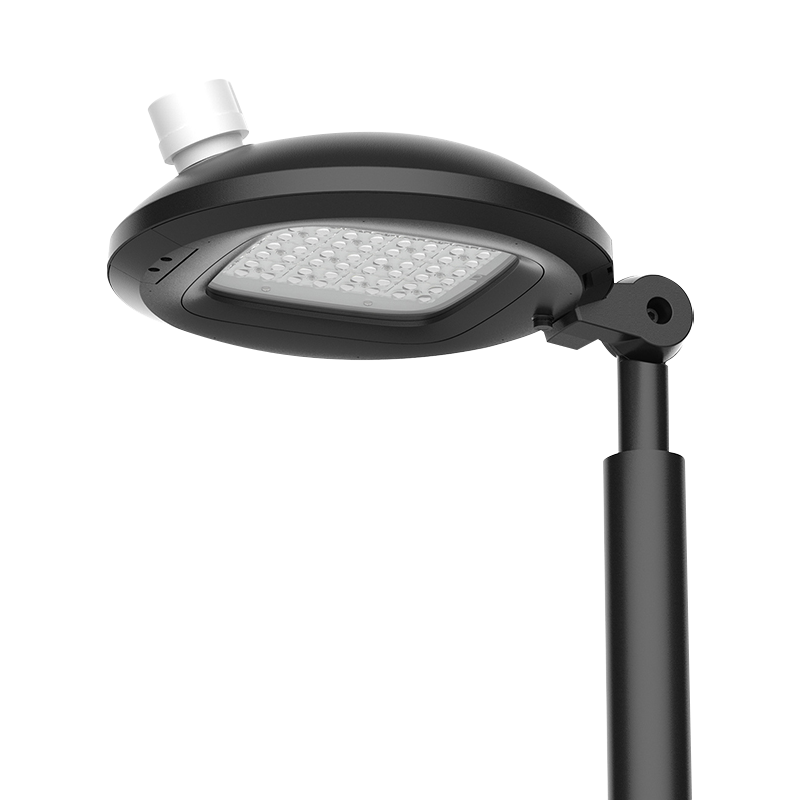
For trailheads and entry plazas, a 120W class street luminaire with a die-cast aluminum housing covers roughly 25 to 35 meters of roadway at 8 meters mounting height, which is usually one pole per junction rather than a continuous run. That keeps the pole count, the concrete work and the future lamp replacement list all shorter.
Uniformity, Glare and Color Temperature
Uniformity is the number that separates a trail people use after dark from one they avoid. A minimum-to-average ratio below 0.25 shows up as alternating bright and black patches, and the eye adapts to the brightest point in the field of view, so those dark patches become effectively invisible. Ask for a calculated grid at 1 meter spacing over the full path width, not a single point reading under the pole.
Glare control matters more in parks than in road lighting, because users are pedestrians moving slowly and looking up. Flat glass lenses, recessed LEDs, backlight shields and a mounting height that keeps the light source below about 30 degrees above the horizontal from a standing eye position all help. A typical trail specification also caps the upward light output ratio, which protects the dark sky character that many communities audit separately.
Color temperature is a design choice with practical consequences. 3000K suits residential edges and heritage settings and reads warmer on camera. 4000K gives better peripheral detection on long unlit stretches. For either, a color rendering index of 70 or above is sufficient for facial recognition and signage, and flicker below about 5 percent avoids strobing on surveillance footage.
Grid Power or Solar: Do the Trenching Math First
The decision is rarely about the luminaire. If the nearest usable distribution point sits 300 meters from the trail, trenching, conduit, cable, reinstatement and the extra protection devices can easily cost more than the fixtures. That is when solar becomes the cheaper engineering answer rather than an environmental gesture. If a live circuit runs along the alignment, grid power with a 10kV surge arrester at each pole usually wins on lifetime cost.
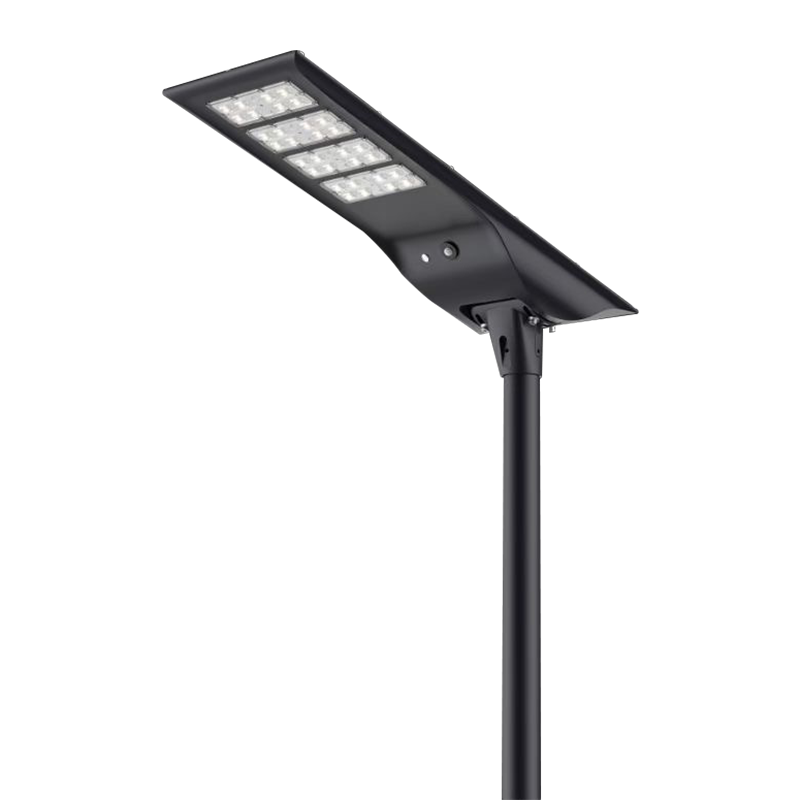 PY-SLST06-80W Solar LED Street Light for Off-Grid SitesAn 80W solar street light with battery storage and intelligent control, suited where trenching or extending mains power would cost more.View Product →
A workable off-grid trail head needs three things beyond the panel: autonomy for at least three consecutive overcast days, lithium iron phosphate storage rated for several thousand cycles, and an honest shade survey. A single mature tree casting shadow across the panel between 10am and 2pm can cut harvest below the load, and no battery bank compensates for that. If the fundamentals are new to you, this overview of how solar street lights are configured covers panel sizing, battery type and controller behavior in plain terms.
Materials, Ingress and Coastal Exposure
Park lighting is exposed to irrigation spray, mower strikes, tree sap, bird droppings and, in coastal districts, salt fog. Die-cast aluminum with a polyester powder coat and stainless fasteners is the baseline. IP65 is the minimum for outdoor use; IP66 is the sensible target anywhere a jet washer or a monsoon season is part of the maintenance routine. Impact ratings of IK08 or better reduce the damage window on low-mounted path fittings.
 PY-LED700B-80W Cast Aluminum LED Garden LightAn 80W die-cast aluminum garden luminaire with IP66 and salt-spray resistance, suited to exposed park and coastal planting edges.View Product →
For low-level walkway lighting, a cast aluminum garden luminaire around 60W to 80W mounted on a 3 to 4 meter post covers the typical 8 to 12 meter spacing of a planting edge without creating a bright band at eye level. On sites within a few kilometers of the sea, ask for a salt spray test report and confirm that the cable gland and breather are rated for the same exposure as the housing.
Drainage gets overlooked. A housing that traps water will fail at the driver long before the LEDs reach their rated life, so check that the optical chamber has a drain path and that the gear compartment is sealed separately from the light engine.
Controls and Maintenance That Actually Get Used
A control strategy is only worth its cost if the maintenance team can operate it. Photocell plus a two-step time dimming profile covers most parks: full output from dusk until the published closing time, then 40 or 50 percent until dawn. That profile alone typically removes a quarter of the annual energy bill without affecting safety during the hours people are present.
- Order spare luminaires at 5 percent of the installed count, in the same LED bin, so future replacements match in color.
- Specify tool-free driver access; a driver swap should take ten minutes on a ladder, not a workshop visit.
- Record the exact model, wattage and optic of every pole position on a site plan, because mixed optics are the usual cause of patchy retrofits.
- Confirm lumen maintenance figures such as L70 at 50,000 hours and a warranty of five years covering the driver.
- Check that the surge protection device is field replaceable, since lightning damage is a recurring cost on exposed trails.
A Short Specification Checklist
- Draw the path centerline and mark every junction, crossing and seat before choosing a pole position.
- Set maintained illuminance and uniformity targets per zone, referencing the local standard.
- Fix mounting heights and spacing ratios so the photometric layout matches the civil drawing.
- Decide grid or solar on installed cost of the supply route, not on the fixture price.
- Require IP66, die-cast aluminum, IK08 and a salt spray report for coastal sites.
- Write the dimming profile and control ownership into the contract, including who can change it.
- Agree a spare parts and warranty package before the first delivery is scheduled.
Getting park and trail lighting right is mostly a matter of sequencing: geometry first, illuminance targets second, fixture construction third, and the power source last, once the cost of the supply route is on the table. A project that works through those four steps in order usually ends up with fewer poles, lower running costs and a path that residents are comfortable using after sunset.
If you are working through a specific site, send the layout and the target levels through the contact page and the team can return a fixture schedule with pole spacing, wattage options and a solar or grid recommendation matched to the route.
Previous Post
Municipal Street Lighting Suppliers: How to Vet an LED Factory Partner
Next Post
Light Pole Inspection: How Often to Check, What to Look For, and Repair Priorities
Related Products

Our Products
Keep In Touch
export@polaryang.cn
+86-574-65167530
Xue'ao Qiangjiao Town, Ninghai County, Ningbo, Zhejiang, China
Contact Us
Copyright © Ninghai Poda Electrical Appliance Co., Ltd. Rights Reserved.
Wholesale LED Lighting Manufacturer
OEM Solar Lighting Factory
