 English
 Español
+86-13777012108
(WhatsApp/WeChat)
Home / News / Industry News / Light Pole Inspection: How Often to Check, What to Look For, and Repair Priorities
Light Pole Inspection: How Often to Check, What to Look For, and Repair Priorities
A 9 meter aluminum pole in a shopping center parking lot can look perfectly straight from the driver's seat and still be well into fatigue at the base weld. That gap between appearance and real condition is why light pole inspection belongs on a calendar instead of on a complaint list. The working rule: inspect every pole at least once a year in mild inland conditions, every three to six months where salt air, coastal humidity, or industrial pollution speeds up corrosion, and immediately after a windstorm, vehicle impact, or flood. A ground level pass takes 10 to 20 minutes per pole, and base level detail work adds another 5 to 10 minutes.
Scheduled inspection costs far less than reacting to a failure. A pole that drops into a roadway closes traffic, triggers liability review, and forces emergency procurement at premium prices, which is the opposite of how a maintenance budget should behave.
Content
- 1 How often should light poles be inspected?
- 2 What a light pole inspection actually covers
- 3 Methods that find what the eye misses
- 4 Turning findings into repair priorities
- 5 When inspection leads to luminaire replacement
- 6 Records, tagging, and the paperwork that pays for itself
- 7 Starting the program this quarter
How often should light poles be inspected?
The interval depends on exposure, pole age, and what the pole carries. Coating condition is the strongest early signal, because once paint fails at the base, corrosion moves faster than most asset owners expect. The table below is a practical starting point for setting a first cycle.
| Site condition | Interval | What to add |
|---|---|---|
| Mild inland, low traffic, poles under 10 years | 12 months | Visual review and spot check of anchor bolt torque |
| General commercial, municipal, or campus | 6 months | Handhole, cover, and gasket check |
| Coastal, industrial, or heavy road salt exposure | 3 months | Corrosion mapping at base weld and weep holes |
| After windstorm, vehicle strike, or flooding | Within 30 days, sooner if damage is visible | Photograph and document before any repair |
What a light pole inspection actually covers
An inspection that only looks at the pole through a truck window misses the parts that fail first. A complete pass works from the ground up.
Pole shaft
Look for rust bloom, blistering paint, dents, and vertical cracks, especially within 300 mm of the base weld where bending stress concentrates. A hollow sound when tapped with a light hammer suggests wall loss or water sitting inside the pole. On tapered aluminum poles, check the full circumference, not just the side facing the street.
Base plate, anchor bolts, and nut covers
Anchor bolts carry the entire overturning load. Confirm nut covers are present and seated, look for rust staining around the bolt circle, and check for gaps between the base plate and the grout. Torque values come from the pole manufacturer; large poles commonly sit in the range of 200 to 400 newton meters, and re-torqueing is a measured task, not an estimate.
Handhole and wiring access
Missing or cracked handhole covers let water and rodents in. Check the gasket, the cover screw threads, and the condition of the conductor insulation inside. Any water line or debris inside the pole should be noted, drained, and traced back to its entry point.
Brackets, arms, and welds
Arm brackets loosen over time. Look for weld cracking where the arm meets the pole, elongated bolt holes, and sagging luminaires. On decorative multi head poles, check each arm separately because wind loading is not shared evenly across them.
Luminaire, driver, and photocell
Note flicker, partial LED failure, discolored lenses, and photocell windows blocked by dirt or nesting material. These are repair or replacement triggers, and they are cheapest to handle while a crew is already standing at the pole.
Foundation and surrounding grade
Check for soil erosion, settlement, cracked concrete, and new obstructions such as raised planters or repaved surfaces that trap water against the base. A pole that has moved is a structural question, not a paint question.
Methods that find what the eye misses
- Ground level visual survey with 8x binoculars to screen a large inventory quickly.
- Close range base inspection with a hammer tap test and a flashlight, since base corrosion is rarely visible from a distance.
- Torque verification with a calibrated wrench and a written record of every reading.
- Ultrasonic wall thickness measurement on poles with heavy rust staining, which turns a subjective judgment into a number.
- Thermal imaging of connections and drivers during dusk hours to catch loose terminations before they fail.
- Drone imaging for tall or hard to reach poles, followed by hands on confirmation of anything suspicious.
All electrical work inside the handhole, and any luminaire replacement, should be handled by a qualified electrician with the circuit locked out. Inspection itself is a documentation activity; repairs are a separate, controlled job.
Turning findings into repair priorities
Field notes only create value when they translate into ranked work. The quickest way to do that is a three level scale: safety critical, near term, and monitor.
| Finding | Likely cause | Action |
|---|---|---|
| Surface rust with intact coating | Coating wear | Clean, prime, and recoat within the season |
| Rust staining at base weld or weep hole | Water trapped inside the pole | Wall thickness test, treat as priority |
| Corroded or loose anchor bolts | Moisture in the base, missing covers | Re-torque, replace covers, engineer review |
| Leaning pole or cracked base plate | Foundation movement or impact | Isolate the area, structural assessment |
| Flickering or dark luminaire on a healthy circuit | Driver, LED module, or photocell failure | Replace module or fixture at the next planned outage |
When inspection leads to luminaire replacement
A good share of inspections ends with a fixture decision rather than a structural repair. Before ordering, confirm three things on the existing pole: tenon diameter, bolt circle pattern, and mounting height. A replacement that does not match the tenon adds an adapter and extra labor, which erases the savings from a lower unit price.
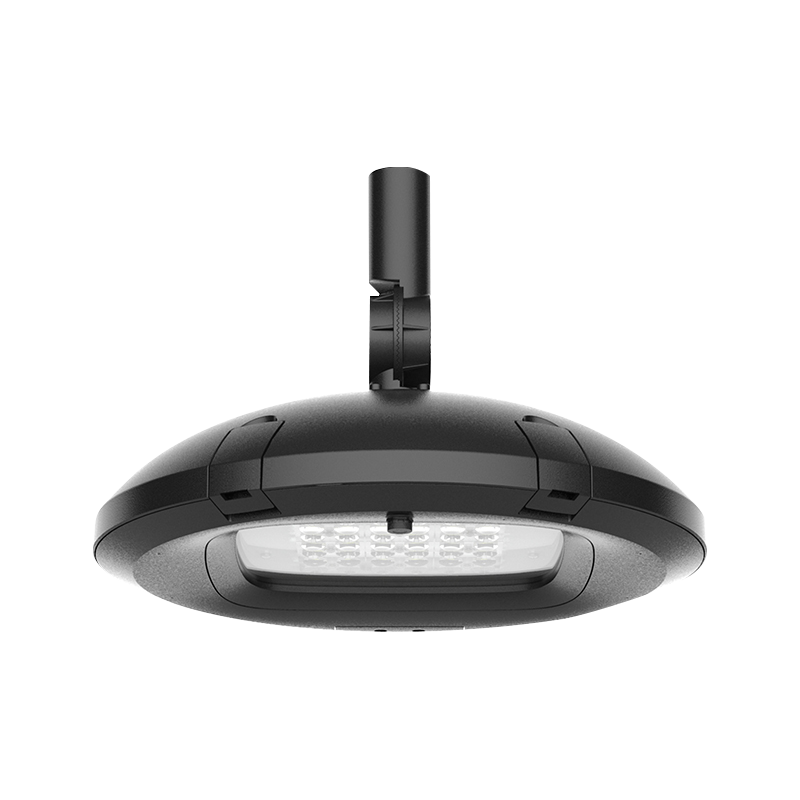
For coastal and industrial sites, housing material matters more than the wattage printed on the specification sheet. Die cast aluminum bodies with a proper powder coat and gasketed lens assemblies resist salt spray and UV far better than thin sheet metal housings, and they hold their finish across repeated inspection cycles.
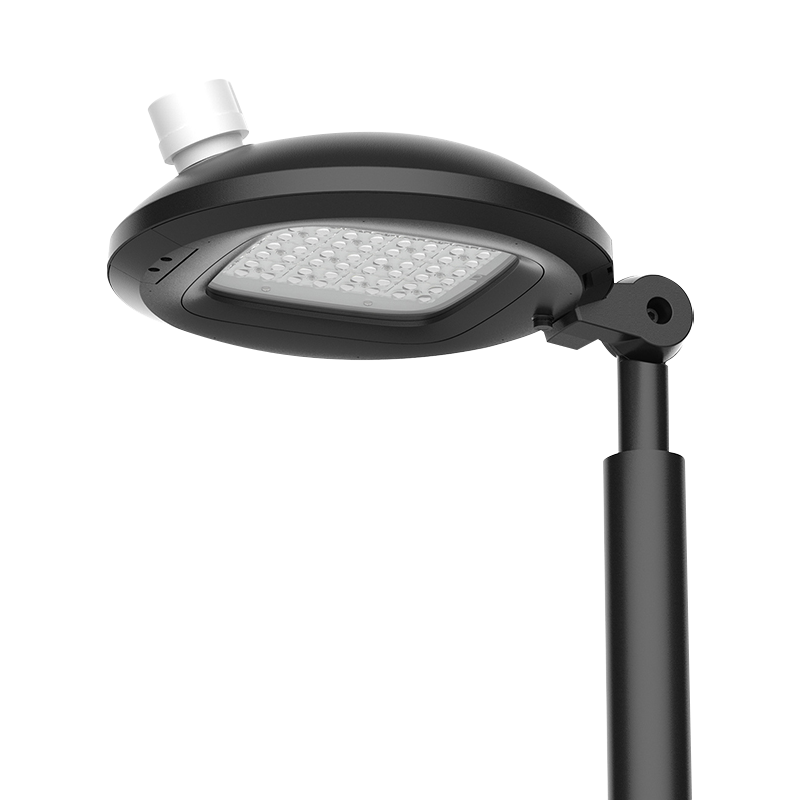
 PY-LED591-240W Cast Aluminum Outdoor LED Street LightFor coastal and industrial roads, its die-cast aluminum housing and sealed, UV-resistant construction are relevant when housing durability matters more than wattage.View Product →
Roads and plazas where remote monitoring is planned deserve a fixture that supports control gear from the start, so the inspection route can later shift from scheduled patrols to exception based alerts. A smart capable pole mounted fixture cuts truck rolls down to the poles that genuinely need attention.
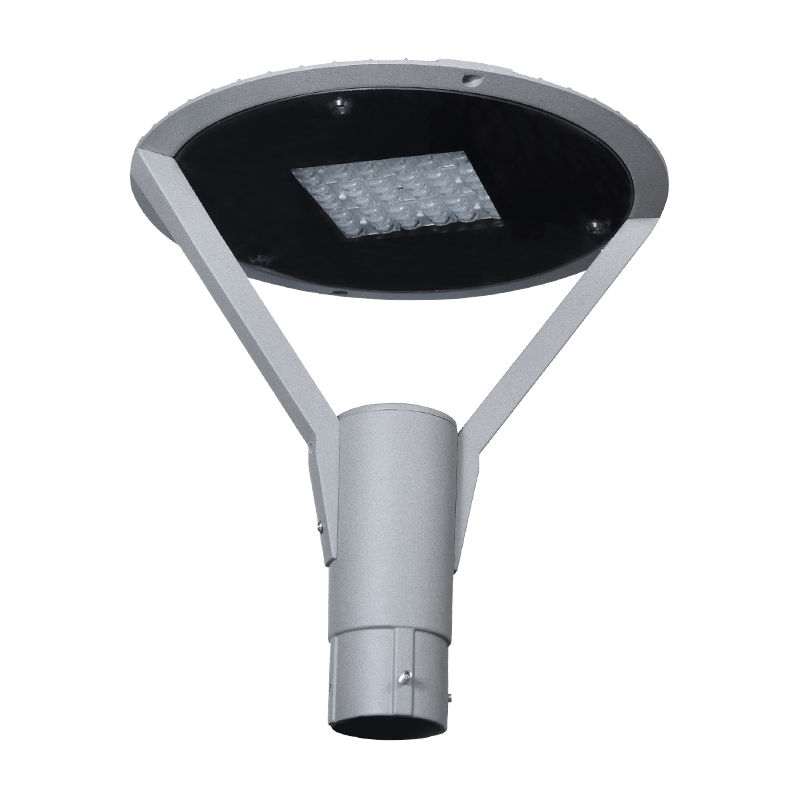
 PY-LED666-240W Smart LED Street Light with Remote ControlBuilt for remote-monitored roads and plazas, this 240W smart street light combines high-efficacy LEDs, multiple optics, and control-system compatibility for exception-based inspection.View Product →
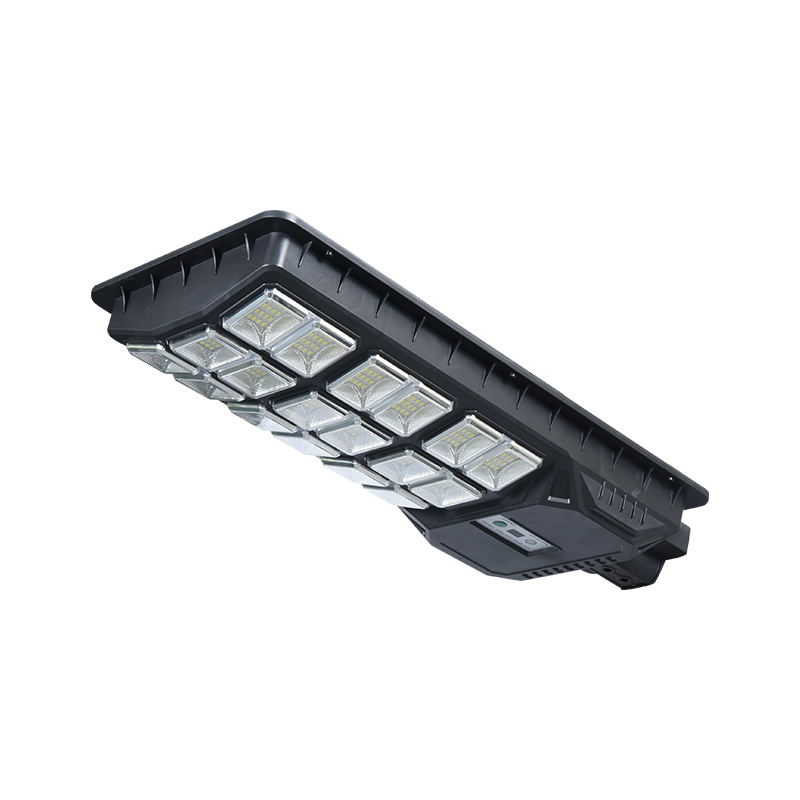
Where grid power is unreliable or trenching is not an option, integrated solar poles change the checklist. Add panel tilt, battery compartment sealing, and cable entry to the routine, and expect battery replacement to enter the budget in year five or later depending on cycle depth.
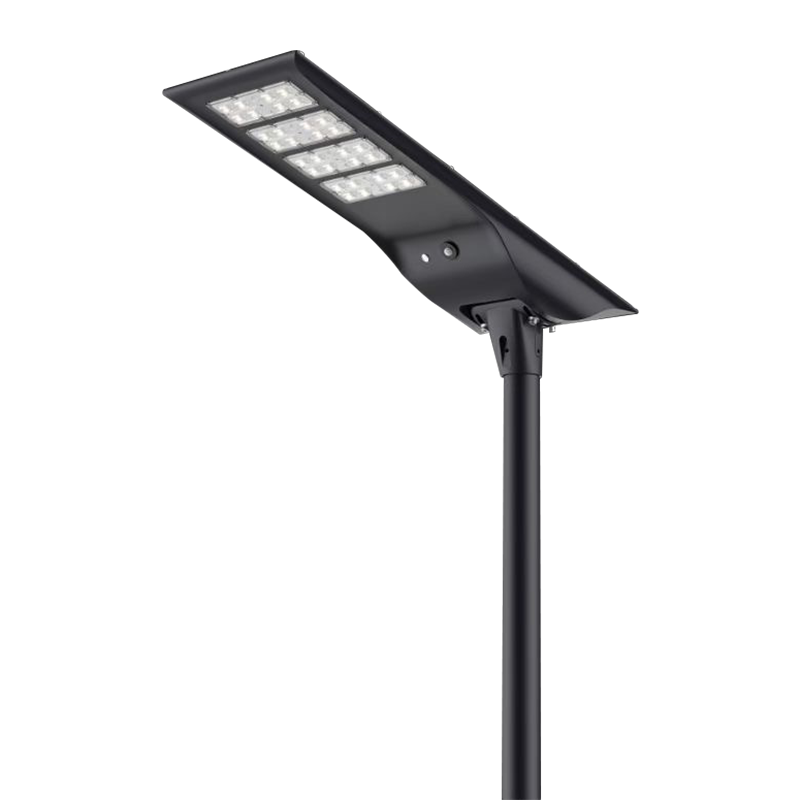 PY-SLST06-80W Solar LED Street LightFor off-grid roads and public areas, this 80W solar street light pairs photovoltaic charging with automatic brightness adjustment and battery storage for nighttime operation.View Product →
Records, tagging, and the paperwork that pays for itself
Give every pole a unique ID and tie it to a map location, install date, and fixture model. Photograph each defect with the pole ID visible in the frame, and record torque readings, wall thickness numbers, and the name of the inspector. When the same model fails three times on one street, that pattern is a procurement signal, and it only becomes visible if the data stays consistent across crews.
Many asset owners now fold inspection data into wider smart street lighting programs, where fault reporting, dimming schedules, and energy metering share one dashboard. The inspection program does not need new hardware to begin, but designing the record structure with that future in mind saves a painful migration later.
Starting the program this quarter
Pick the twenty oldest poles in the highest exposure area, inspect them fully, and use the results to calibrate the interval for the rest of the network. That small sample usually reveals whether the real problem is corrosion, loose anchor bolts, or failing drivers, and it converts a general policy into a defensible budget number.
Our production covers die cast aluminum outdoor luminaires from 30W to 1200W, including street lights from 50W to 240W, with CE, TUV, and RoHS documentation for export markets and in house tooling from design through finished assembly. If you are planning an inspection cycle or a fixture replacement batch, send us the pole details and we will confirm fit and lead time.
Previous Post
Lighting for Parks and Trails: How to Choose Fixtures, Levels and Power Sources
Next Post
LED Soccer Field Lighting: Lux Levels, Pole Layout, and Luminaire Choice
Related Products

Our Products
Keep In Touch
export@polaryang.cn
+86-574-65167530
Xue'ao Qiangjiao Town, Ninghai County, Ningbo, Zhejiang, China
Contact Us
Copyright © Ninghai Poda Electrical Appliance Co., Ltd. Rights Reserved.
Wholesale LED Lighting Manufacturer
OEM Solar Lighting Factory
